
Tutorial PlanningPME Mobile
Mobile application for iPhone, iPad and Android
Contents
2 - Versions available: iPhone, iPad, Android
3 - Connexion to a template or connexion to your own data
4 - Settings and menus
5 - Views available of the planning; daily, weekly, monthly, list
6 - Selection of the resources displayed
7 - General information and visual settings of the application: synchronisation frequency, display of the schedule, performances etc
8 - Create, modify or delete a task
9 - Create, modify or delete an unavailability
10 - Create users with different permissions
11 - Select the fields displayed within the task box
12 - Special advanced features for the mobile version: assign a signature to a task, check time in and out for each appointment, upload a file
1 - Introduction
Requested by many customers, PlanningPME now has its mobile version. Watch these videos that quickly show the application on the iPhone and iPad:
2 - Versions available: iPhone, iPad, Android
PlanningPME Mobile is available on iPhone, iPad and on Android.
You can already download the iPhone and iPad version of the mobile application for free on the Apple store and the Android version of the Google Play Store from here:
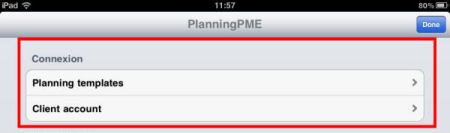
3 - Connexion to a template or connexion to your own data
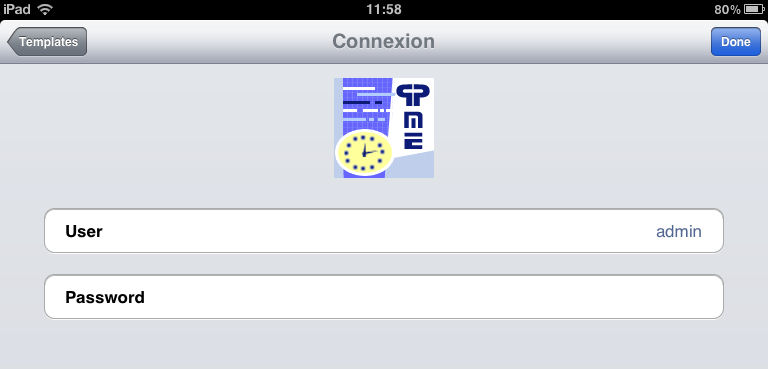
Connection to a template
Select your example from the list and then, click on Done.
For the templates, by default, you can connect with the user "admin" without any password.

Connexion to your client account
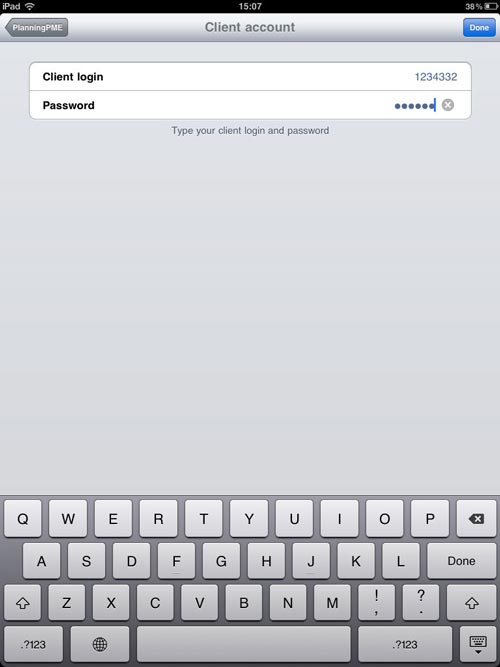
First, you will need to contact Target Skills to subscribe the mobile access application. Then, you will be provided a login and a password. From the connexion window below, selecting Client Account.
Then, enter the client login and password provided by Target Skills.
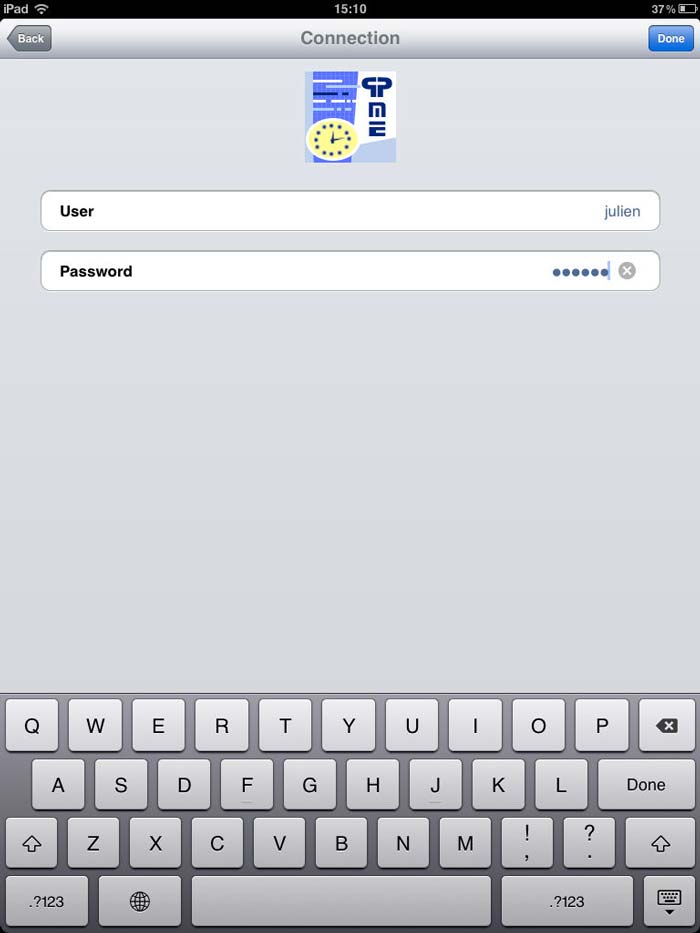
Last, connect to your planning with the user login and password created from PlanningPME or PlanningPME Web Access.
4 - Settings and menus
NB: All the settings on the users rights will be done either from the desktop version PlanningPME or from the web application PlanningPME Web Access.
Indeed, from the mobile application, you can not manage the users permissions. You can not either add, modify or delete resources on the planning board. Find below the list of the different actions you can perform from the mobile application.
| Icon to select the views of the scheduler | Chapter 5 | |
| Menu to select the resources to display on the planning | Chapter 6 | |
 |
Menu to do some general settings | Chapter 7 |
 |
Menu to create a new task or a new unavailability | Chapter 8 |
5 - Views available of the planning; daily, weekly, monthly, list
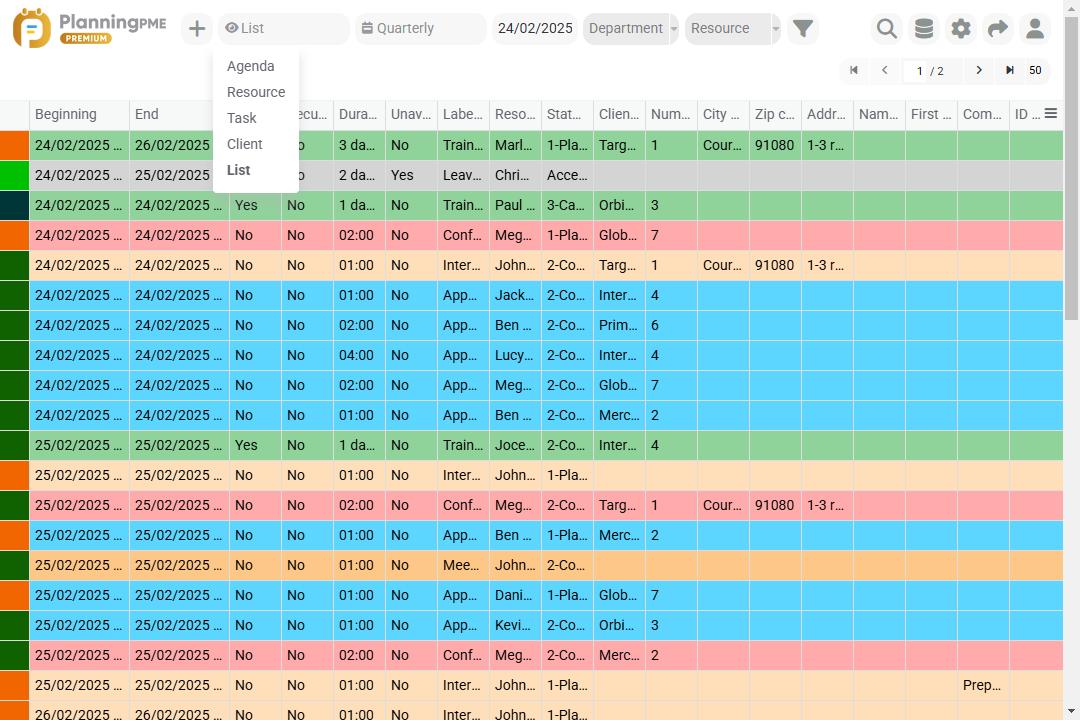
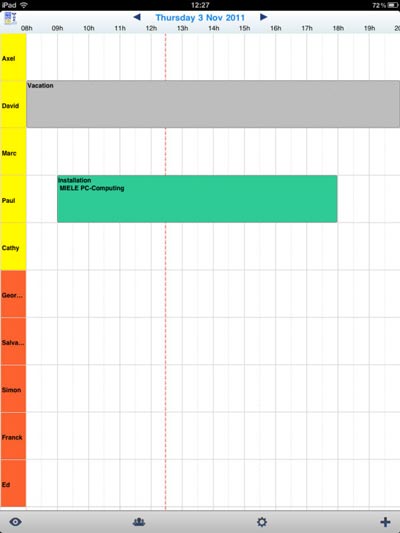
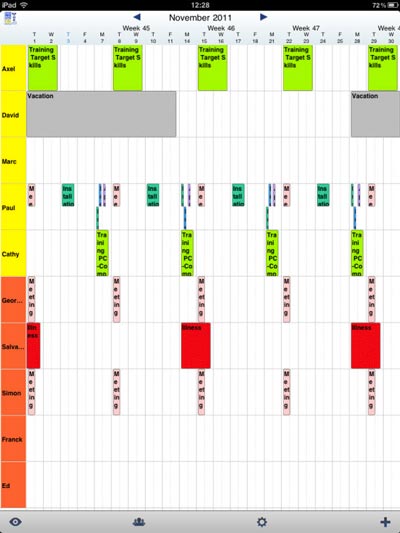
You can display several type of views on the planning board: List view, daily planning, weekly planning or monthly planning clicking on the icon below at the bottom left corner of the application.

Have an overview of the different schedules.
| List View | Daily schedule | Weekly schedule | Monthly schedule | ||||||
 |
 |
 |
 |
6 - Selection of the resources displayed
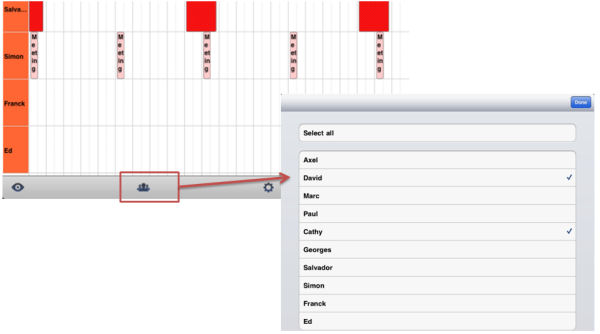
You can select the resources you want to display on your mobile or tablet. Just click on the icon below and then, select the resources you want to see.
7 - General information and visual settings of the application: synchronisation frequency, display of the schedule, performances etc
You can define several parameters to optimise the visualisation on the planning board. You can also have access to the performances of your planning.
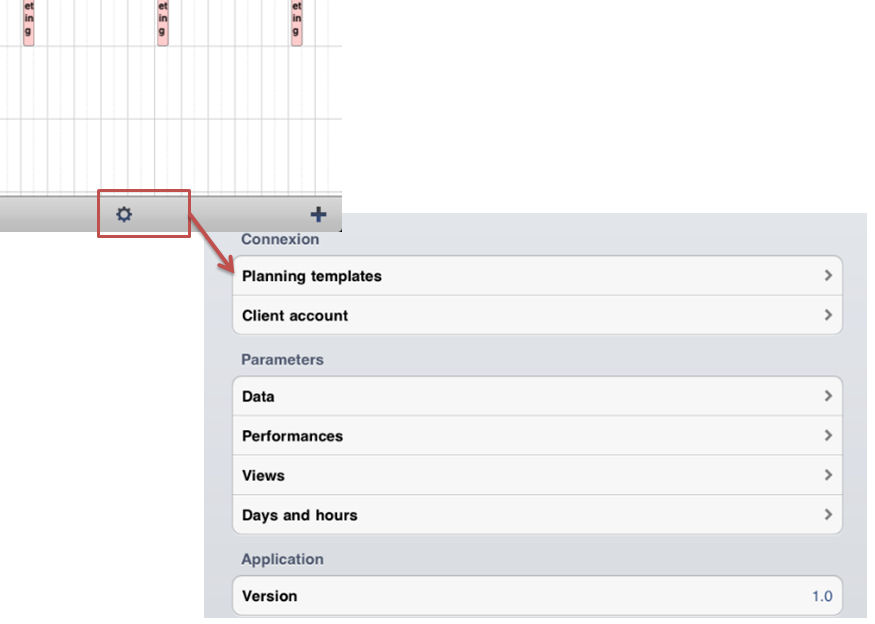
List of the different settings you have access to:
| Connection See chapter 3 |
|
| Menu Data Synchronise: You can synchronise past events: if you select 2 weeks for example, events older than two weeks will not be synchronised. New data: You can select the refresh frequency for tasks and unavailabilites: from every minute to every hour or manually. |
 |
| Menu Performances You can follow performances of the planning: number of tasks, resources, clients and projects loaded, time to record an event, time to display the planning on the device, volume of the database. |
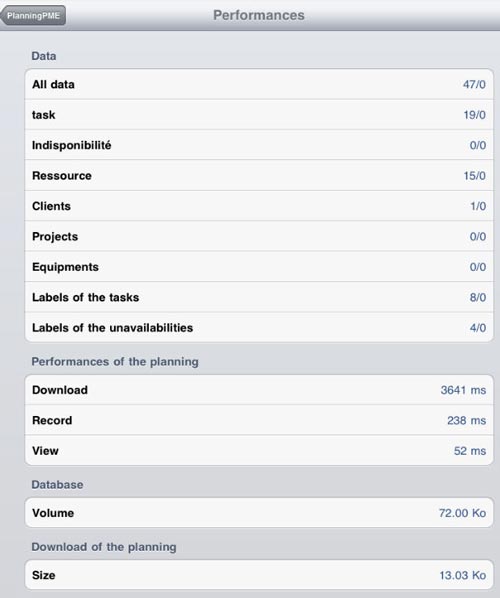 |
| Menu Views You can optimise the view of the planning according to your needs. Indeed, for each view (daily, weekly, monthly, list view) you can define the size of the text and the precision of the columns. For example, if your tasks are one hour duration, you may want to have a precision of 1 hour. If your tasks last one day, then you will need a precision of one day only. |
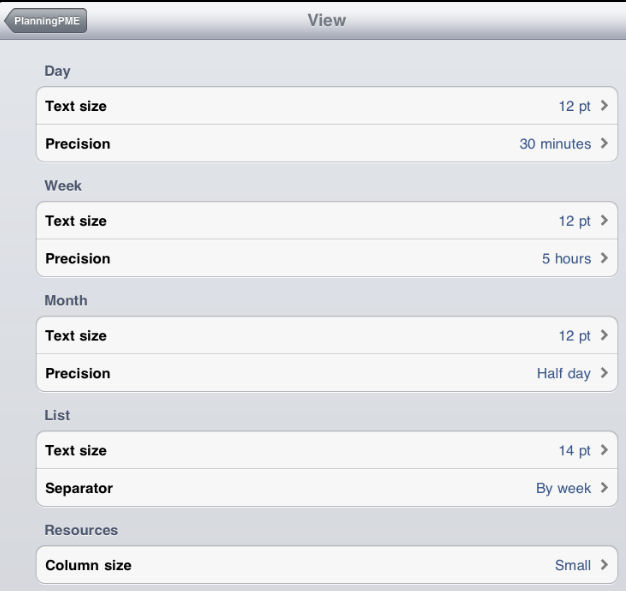 |
| Menu Days and hours Hours: Select the beginning and end hour of a typical day. |
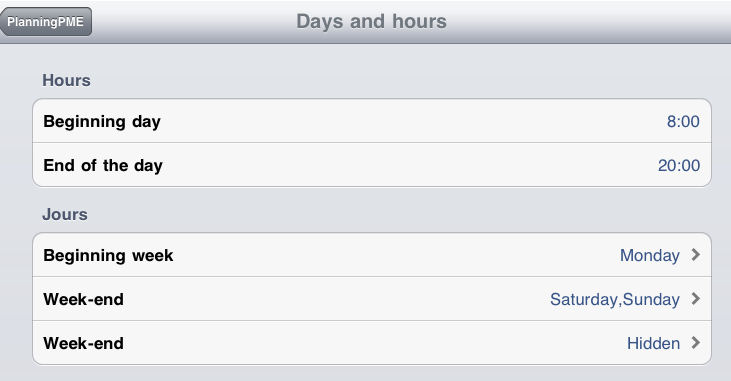 |
| Version Version you are using |
 |
8 - Create, modify or delete a task
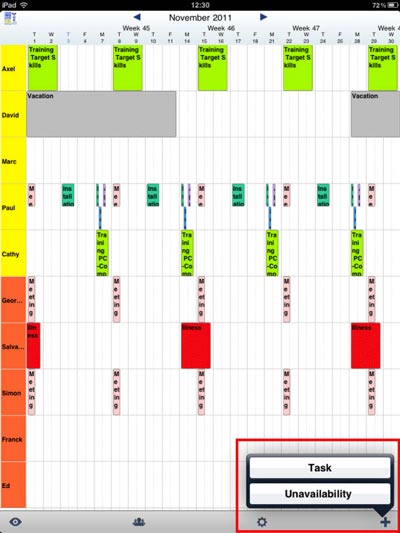
On the schedule, a task will be represented by a coloured rectangle. To create a new task, select the " +" icon and then " Task" or hold your finger on the planning board.
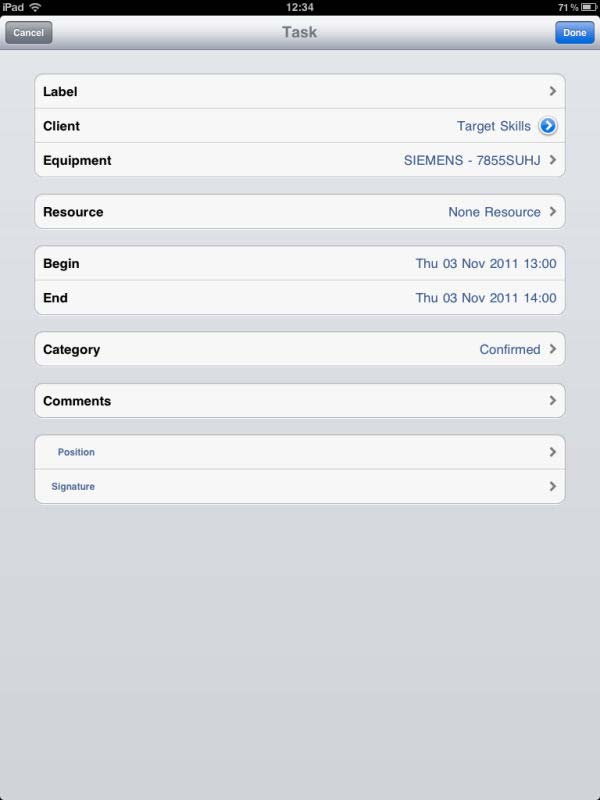
Task creation
Select "Task" and then enter the information for this new task: Label, clients, Resource, Beginning and End dates and hours, Category, Comments and all extra fields you created. Then, press "Done" and your new task will be created on the schedule.
Task modification or deletion
To modify a task, hold your finger on the task on the planning board. The details on the task will open:
You can then change the data within the task and press "Done" or delete the task via the red button "Delete".
9 - Create, modify or delete an unavailability
On the schedule, an unavailability will be represented by a coloured rectangle with hatchings. To create a new unavailability, select the "+" icon and then "Unavailability".
The way to create, modify and delete an unavailability is the same as for tasks. See previous chapter.
10 - Create users with different permissions
You can create several type of users with different permissions from the desktop application PlanningPME or from the web application PlanningPME Web Access. The creation of users is only possible from one of those two applications, not from the mobile version directly.
Create users from the scheduling software PlanningPME
Any version greater than 4.0.6. is compatible with the mobile version. To check your version, go to ? -> About PlanningPME.
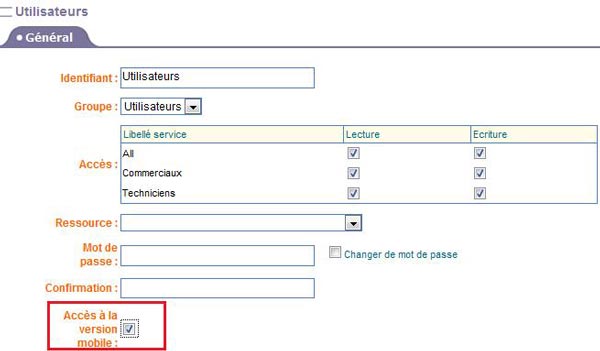
To create a new user in PlanningPME mobile, do not forget to select the box "Mobile Access" from the menu Data -> User.

Then, while connecting to the mobile application, you can use the login and password you created. The rights to add, modify or delete tasks and unavailabilities will be applied.
Create users from the online scheduling application PlanningPME Web Access
Any version greater than version 2.1.3. is compatible with the mobile version.
To create a new user in PlanningPME mobile, do not forget to select the box "Mobile Access" from the menu Data -> User.
Then, while connecting to the mobile application, you can use the login and password you created. The rights to add, modify or delete tasks and unavailabilities will be applied.
11 - Select the fields displayed within the task box
You can select the information you want to have on the box that represent a task either from the application PlanningPME or PlanningPME Web Access.

Selection of information via PlanningPME
Menu View -> View -> Task and select the destination "Label mobile"..
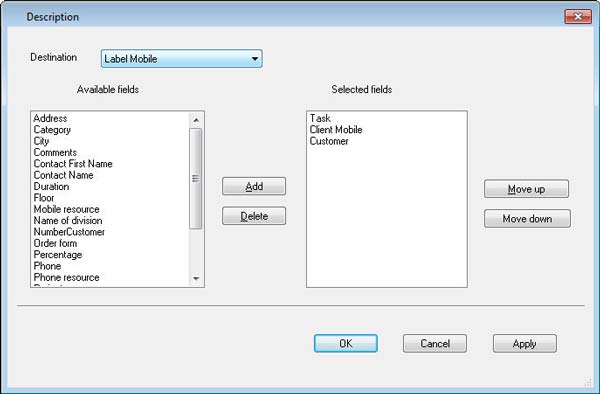
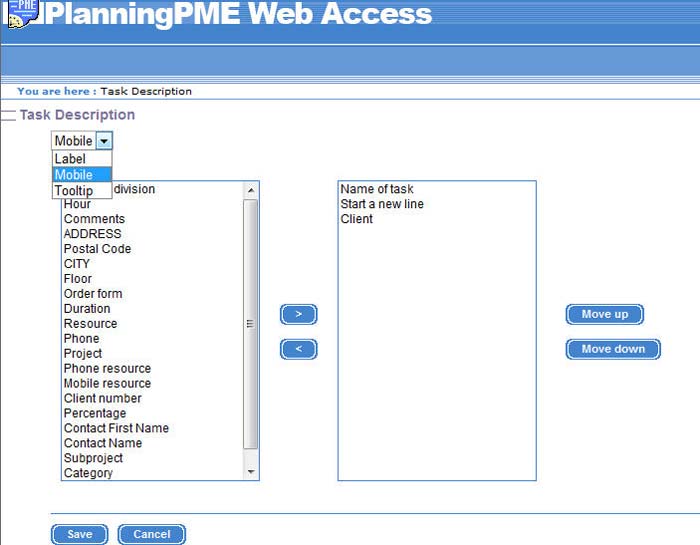
Selection of information via PlanningPME Web Access
Menu Data -> Task description and select the label "Mobile"
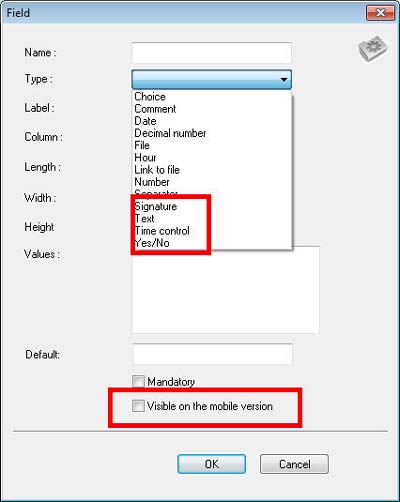
12 - Special advanced features for the mobile version: assign a signature to a task, check time in and out for each appointment, upload a file
 |
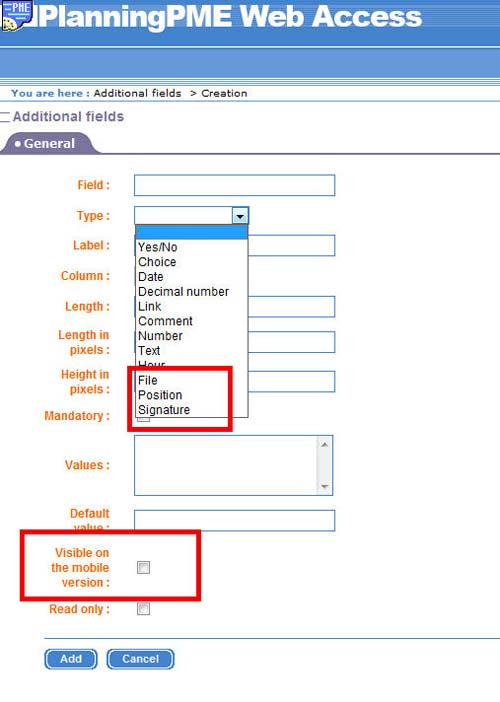 |
Check the table below for more details on each advanced specific field.
| Signature | 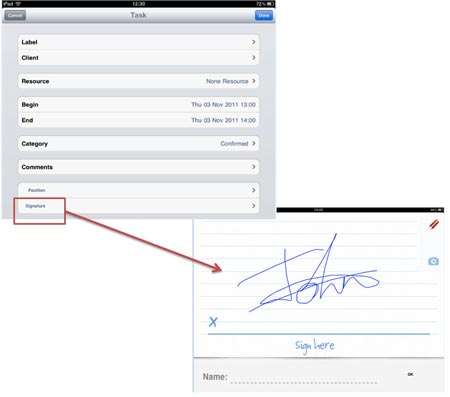 |
For each task, you can have a signature of your client or any employee in order to check if the task has been completed or validated. | |
| Check IN/OUT | 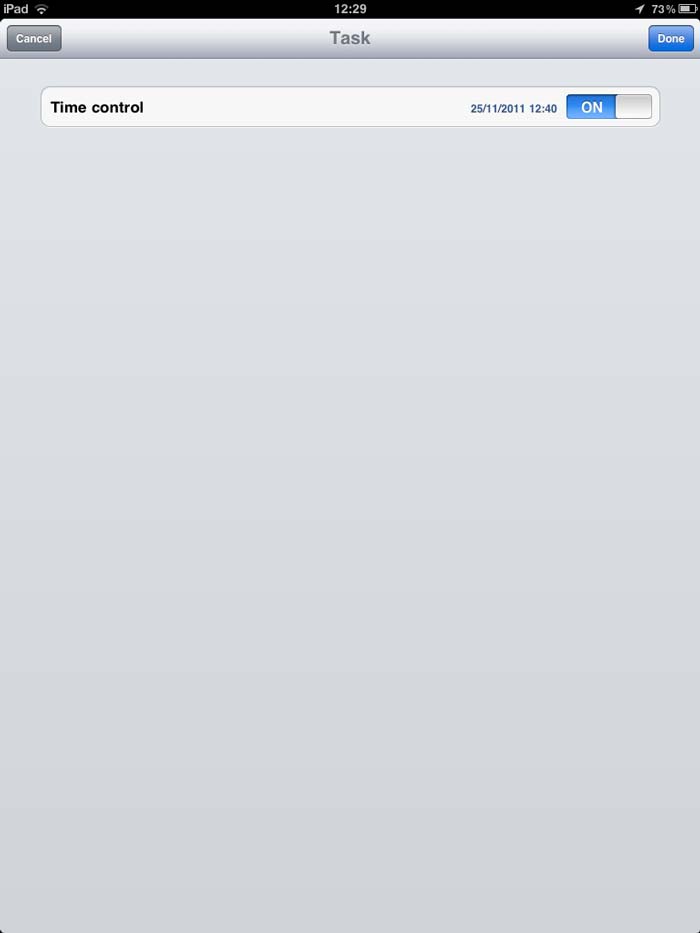 |
Time Control: You can have a time control for each task to know when the beginning time and end time for a task. This option also activates the geolocation. | |
| File Upload | 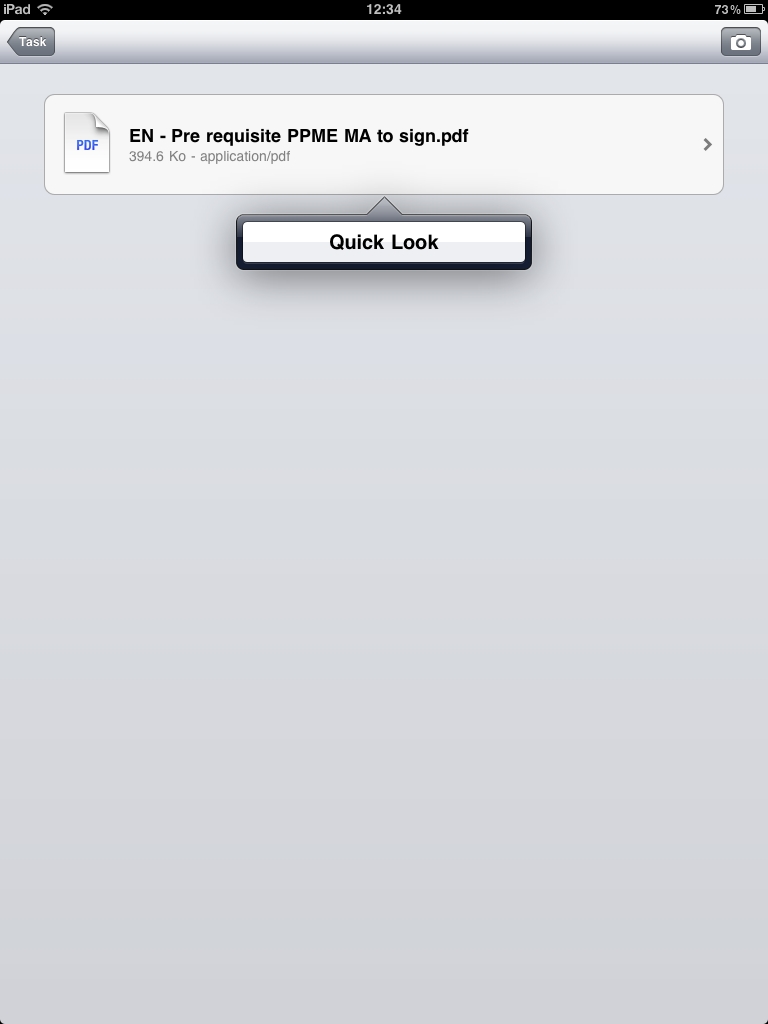 |
You can assign some files to each task and then, download them from your mobile device. |