
Client Management
PlanningPME enables managing your meetings and on-site activities on clients premises. The number of clients is limitless.
How to activate the "Clients function in PlanningPME Web Access
Adding, modifying and deleting clients
Associating a client with a task/Assigning a client to a task
Creating, viewing or modifying a client record in the working window
Client views and filters
Importing your client database
Auto-completion: intuitive data entry
Access rules defined by user
Why use the client function?
This function needs to be activated if you need to assign a client each time you create a new task and you wish to see the name of the client with whom you are working displayed on the screen.
How to activate the "Clients function in PlanningPME Web Access
First activate the option in the menu Parameters -> Options -> Data and select "Activate customers".
You now have a "Client" menu under "Data".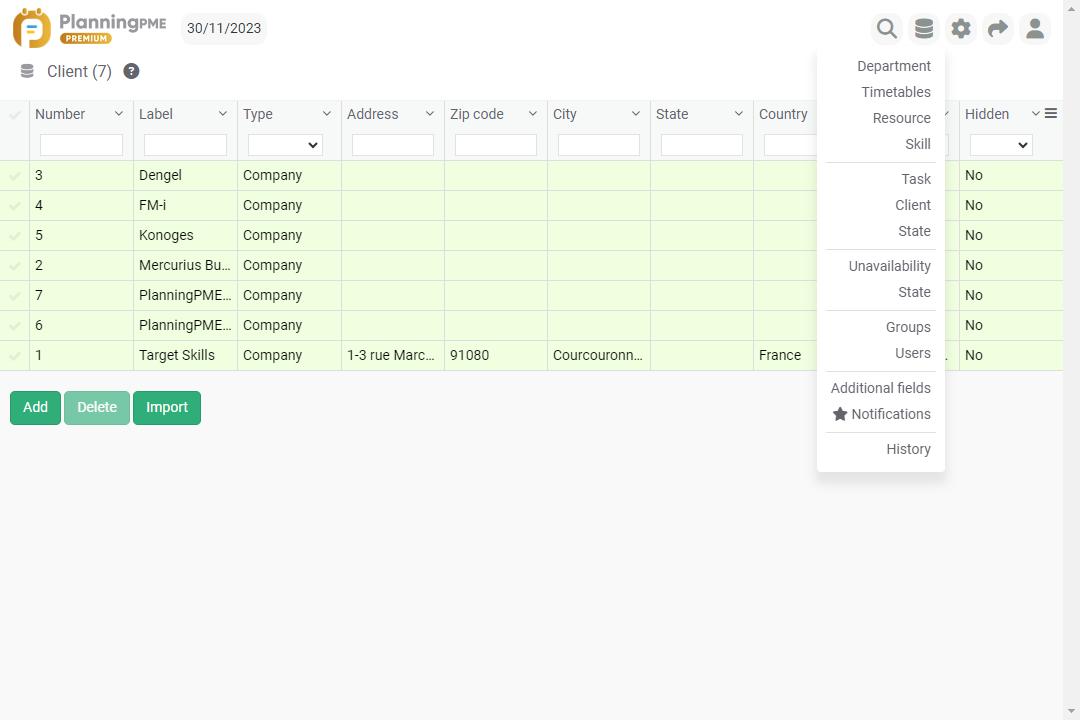
Adding, modifying and deleting clients
To create a new client, click on "Add". Here you can enter all the information contained in the client record: company name, contact person, physical address, e-mail address, etc.
To delete a client, select the name in the list, tick the box and click on "Delete". To modify a client, click directly on the client name in the list and modify the content
Associating a client with a task/Assigning a client to a task
When creating a task, you may select the client directly in the drop-down list in the "quick creation" window or from the full window.
You may view the client in the task description if you have selected the appropriate field in the menu Data -> Task description -> Label

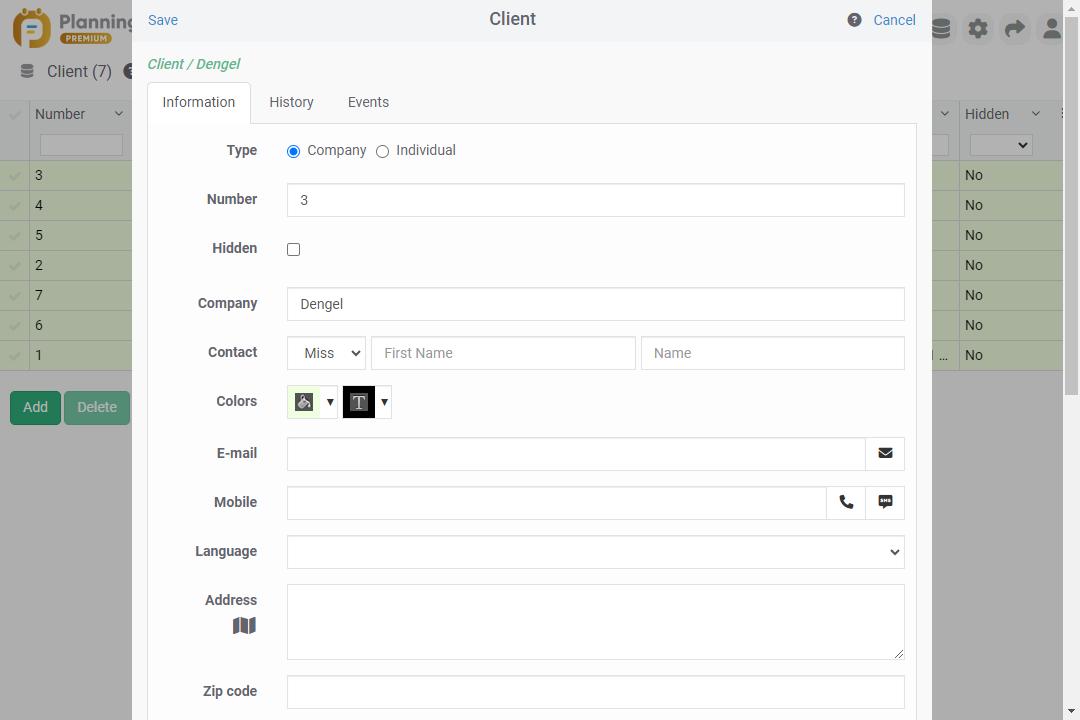
Creating, viewing or modifying a client record in the working window
When creating a task from the main window, you may create a client by clicking directly on the icon: ![]()
The details in the client record will be displayed and you may create your new client by clicking on "Add".
Your new client is now created and visible in the task window:
Once the client is selected, this icon![]() enables having direct access to the client information without having to go through the menu Data -> Clients
enables having direct access to the client information without having to go through the menu Data -> Clients
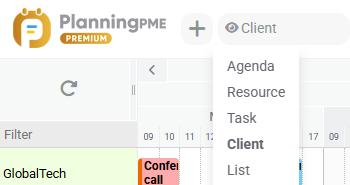
Client views and filters
You may also display the client view using the drop-down menu on the right-hand side encircled below or you may display the tasks associated with a single client by using the client filter at the top of the scheduling window (as shown below).
Importing your client database
In order to facilitate the operation and settings of the planning tool, you can now import your own data directly, such as resources, customers and projects. This will allow you to integrate your elements into the schedule and will save you precious time.
Auto-completion: intuitive data entry
Rather than have a long drop-down list of clients, you may also activate intuitive entry in order to select a client rapidly by entering the first few letters of the label. For more information on the intuitive entry function .
Access rules defined by user
See the chapter on: personalised access rules.