
Resource and department management
Resources appear in the left-hand column of the scheduling area. You can create as many human or material resources as you like (as a function of the number of levels that you decide to create).
The various types of resource that can be created in the planning tool are:
- Human resources (names of employees, labourers, etc.)
- Material resources (vehicles, rooms, equipment of all sorts, etc.)
- To plan resources (for all, as yet, unassigned tasks)
Details of the To plan resource type
Resource order
Grouping resources by department
Displaying a department in the schedule
Time profiles per resource
Contract management
Masking a resource in the scheduling area
Creating resources in the online scheduling software
From the PlanningPME Web Access home page, go to the menu "Data" ![]() -> "Resource".
-> "Resource".

To set up a new resource, click on Add.
To modify a resource, double click on the resource name.
To delete a resource, select it (left click) and then click on Delete.
In the resource window, the following information may be added:
The type of resource: human, material or To plan
Assign a colour for both background and text.
Assign the resource to a department.
Add any other information as necessary.
Details of the To plan resource type
What is the purpose of a resource To plan?
All tasks in the "To plan" category will appear in the schedule irrespective of the viewing mode (daily, weekly, etc.)
Such resources are a sort of Post-it line, a reminder, allowing you to display all tasks waiting to be assigned.
When you know to whom you will assign the task, a simple drag and drop with the mouse will assign the task to the resource concerned.
NB: There can be as many To plan tasks ready for resources as you like.
A To plan resource can be fixed.
Tasks do not move automatically in the schedule. They appear only on the planned dates.
Resource order
From the menu "Resource" you may sort resources using the Ranking button:
Ascending order/Descending order
Resources will then be listed in ascending or descending alphabetical order. Click on Apply the ranking to save this choice.
Drag and Drop
You may also select a resource and move it around the screen using the mouse.
Grouping resources by department
It is possible to create departments (sales, accounting, technical, etc.) and then, from the general scheduling window you can apply a filter so that only specified single or several departments are displayed, thus improving readability.
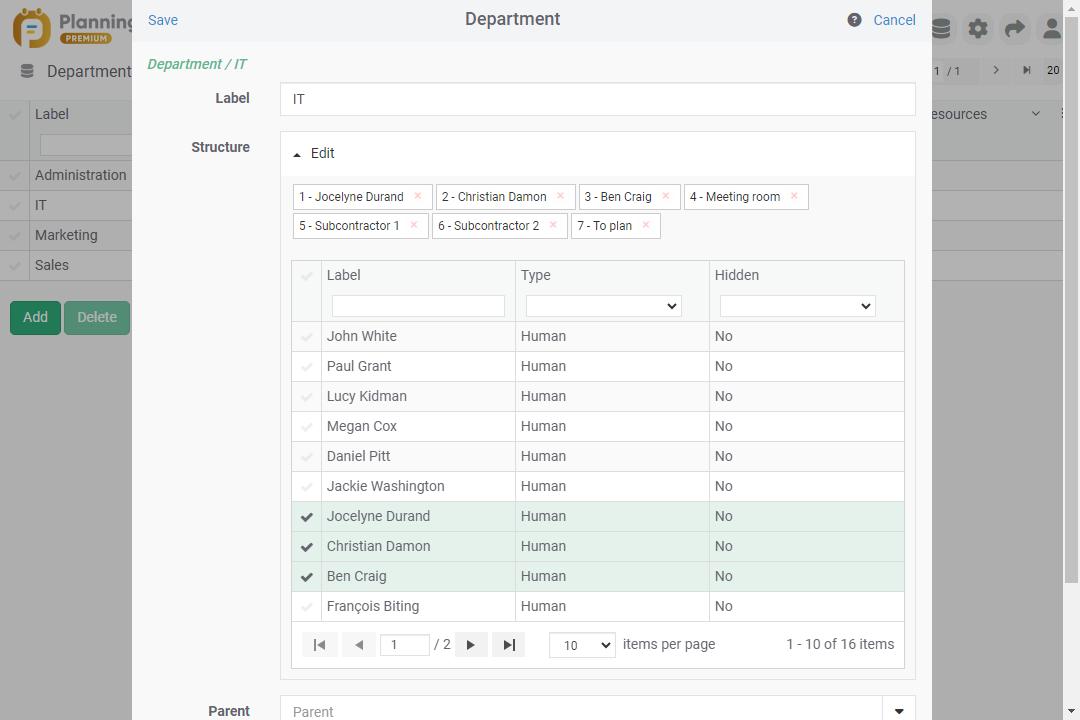
From the menu "Data", "Department", click on "Add" or modify an existing department: Then select the resources to be assigned to that department and click on "Save".
An alternative way of assigning resources to a department is to:
Select the department(s) for the resource directly from the resource list in the drop-down menu.
Displaying a department in the schedule
Scroll down the department Filter and choose the required department. Only those resources belonging to that department will appear on the screen:

If you do not see the filter, it may be activated from the "Filter" Icon ![]() -> Department
-> Department
Weekly hourly profile by resource
Create time profiles
It is possible to create weekly time profiles different for each employee. Visually, non-worked time slots will appear tinted grey in the schedule.
From the Data -> Timetables menu, you will be able to add, modify or delete weekly time profiles.
Enter the label/name for your time profile and then the schedules for your employees.
If the time slots for your employees are the same week in week out, tick the box Define the capacity as a function of the time slots
If the time slots for your employees vary from one week to the next, tick the box Define the capacity as a function of the number of hours.
Dont forget to click on the Save button to record the new time profile.
Assign time profiles to your resources
From the general view, click on a human resource present in the left column to open the card of the resource then go to the "Timetables" tab.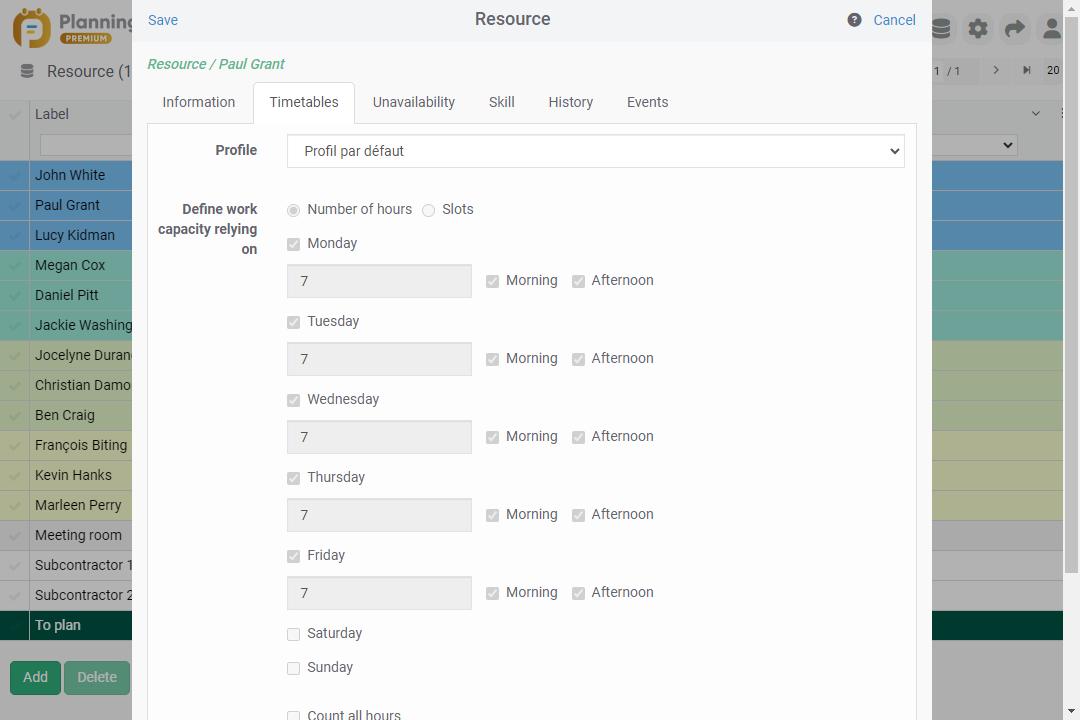
Contract management
You can manage the contracts for your human and material resources: permanent contracts, fixed-term contracts, seasonal contracts, machine hire periods, etc.
Create a contract
To create a contract, go to the resource file, 'Contracts' tab.
Click on "Add" and specify the start and/or end dates.
You can create one or more contracts.

Visualisation of contract on the schedule
Periods of time outside the contract periods will appear greyed out on the resource line.

Masking a resource in the scheduling area
If a person no longer works in the company but you wish to keep a record of the tasks the person has carried out, you may mask that person from view by selecting "Mask this resource on the schedule" in the persons information record.