Project planning
PlanningPME Web Access is a collaborative tool available to many users for simple project planning. It enables handling an unlimited number of projects with real-time monitoring of changes in the project schedules.
Searching for a project
Managing client projects
Monitoring a project from the “event” tab
Managing sub-projects
Additional fields in the Project window
Other options concerning projects
Adding, modifying and/or deleting projects
From the menu Parameters -> Options -> Tasks, activate the option: "Associate a project with a task". You are then able to add new projects.
From the menu "Data" -> "Project"

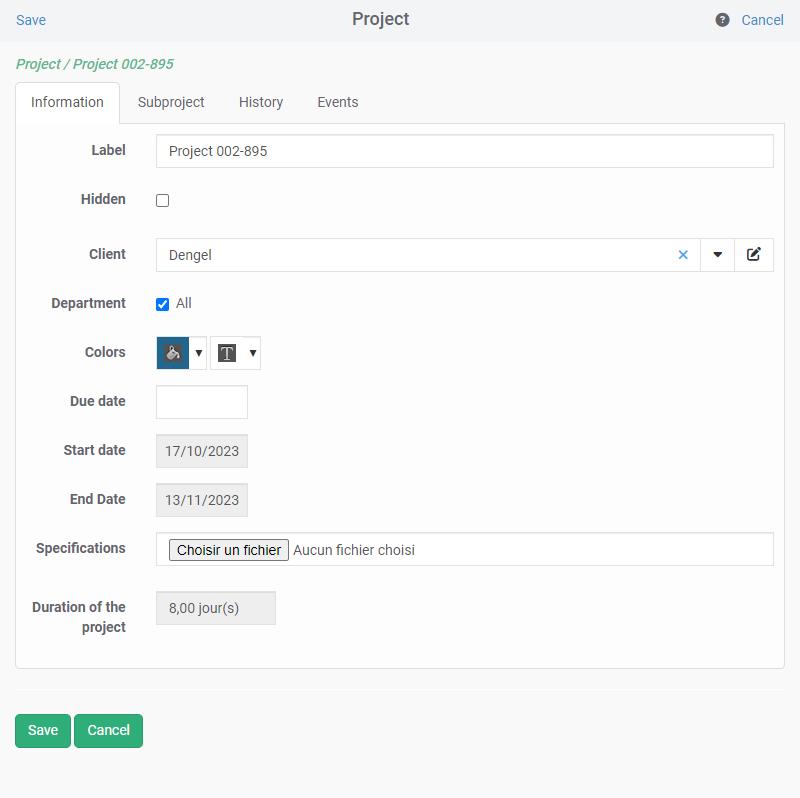
The window above enables creating, modifying and deleting projects.
From the icon "Project" to be found in the task window
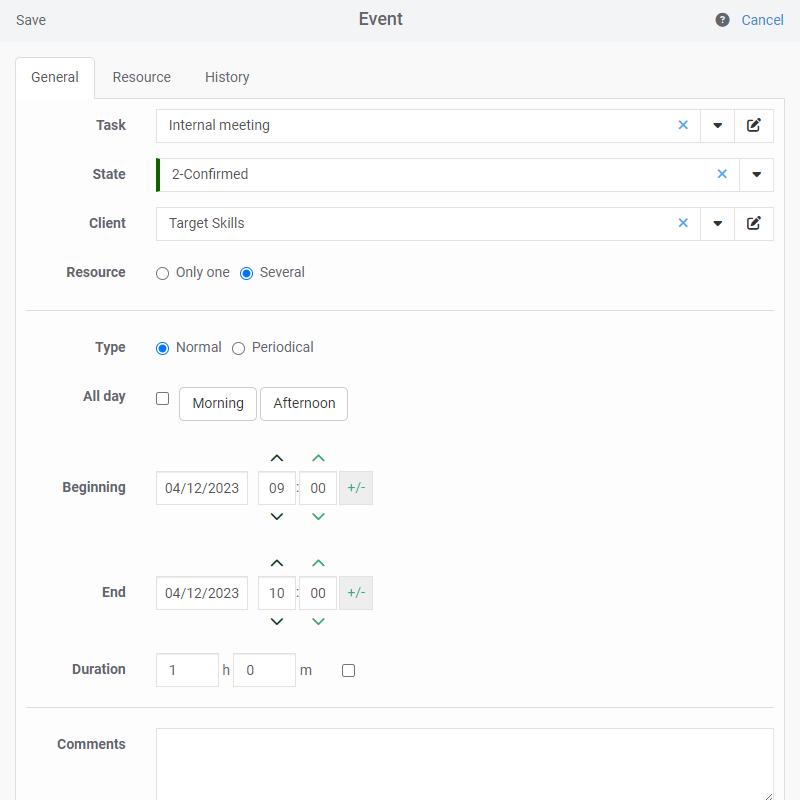
When you create a new task in the online schedule you may associate a project with the task.
When creating a new task in the schedule, you may also create directly a new project by clicking in the pencil icon: You may create a project directly in the task. The task label will be recorded and will subsequently be available in the drop-down menu.

From the "Project" view
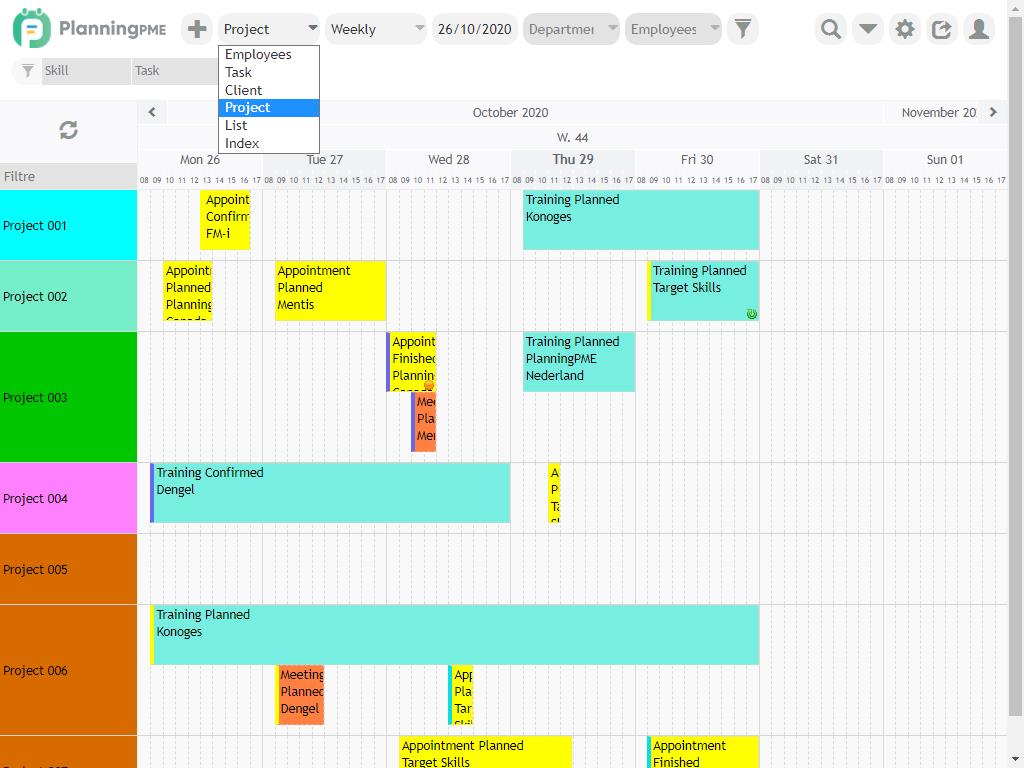
Go to the "Project" view from the "View" filter at the top of the screen. Click on the project label to see all the information concerning the project.

Searching for a project
Enter the first few letters of the project using the icon below. The scheduling software automatically filters the results according to your search criteria.

Managing client projects
PlanningPME Web Access helps you to improve project monitoring and managing your clients.
Thus, when you create an event in PlanningPME Web Access, by selecting a client, only those projects associated with that client will be displayed. And conversely, by selecting a project, the associated client will automatically be displayed. For this, you need to activate an option:
Adapting the project filter according to the clientTo adapt the Project filter as a function of the client, you only need to activate the option in the menu Parameters Options -> Task -> Adapt the project filter according to the client.
How the "Client" filter works
By filtering the schedule according to the client, only projects associated with the client are displayed.
Monitoring a project from the “event” tab
An “Event” tab appears in the Project window detailing all the tasks which have been assigned to the project since the project started.
Additional fields in the Project window
You may create several additional fields in the Project window See the chapter concerning the creation of additional fields.
Managing sub-projects
A sub-project may be created associated with a specific project. For this, go to the menu Parameters -> Options -> Task -> Associate a sub-project with a task.
Adding a sub-project
Adding a sub-project is handled directly from the project window. Enter your sub-project and click on Save.
Assigning a sub-project to a task
When creating a task in the schedule, you may associate it with a project and one or more sub-projects.
Other options concerning projects
Personalising the terms "Projects" and "Sub-projects"
So that the terms used in PlanningPME Web Access reflect perfectly your own activity, you may rename the terms "Project" and "Sub-project" from the menu Parameters and Format.
Masking a project
From the “Project” creation window, you are able to mask a project when it has been completed so as to keep track of it in the archives but so that it no longer appears in any current schedules.
Colour-coding projects
You may define a colour both for the text and the background for each project so that projects are easily distinguishable in the overall view of the event scheduling. To activate this option, go to the menu Parameters -> Options ->Task and choose "Project colours".

